Showing posts with label tutorial. Show all posts

Thursday, December 12, 2013

Dryad painting walkthrough

I took photos of my process. Here is a walkthrough-
Materials used:
Strathmore mixed media paper, pencil,watercolor, colored pencils, acrylic ink(brown), brush tip marker, and a tiny bit of white acrylic.
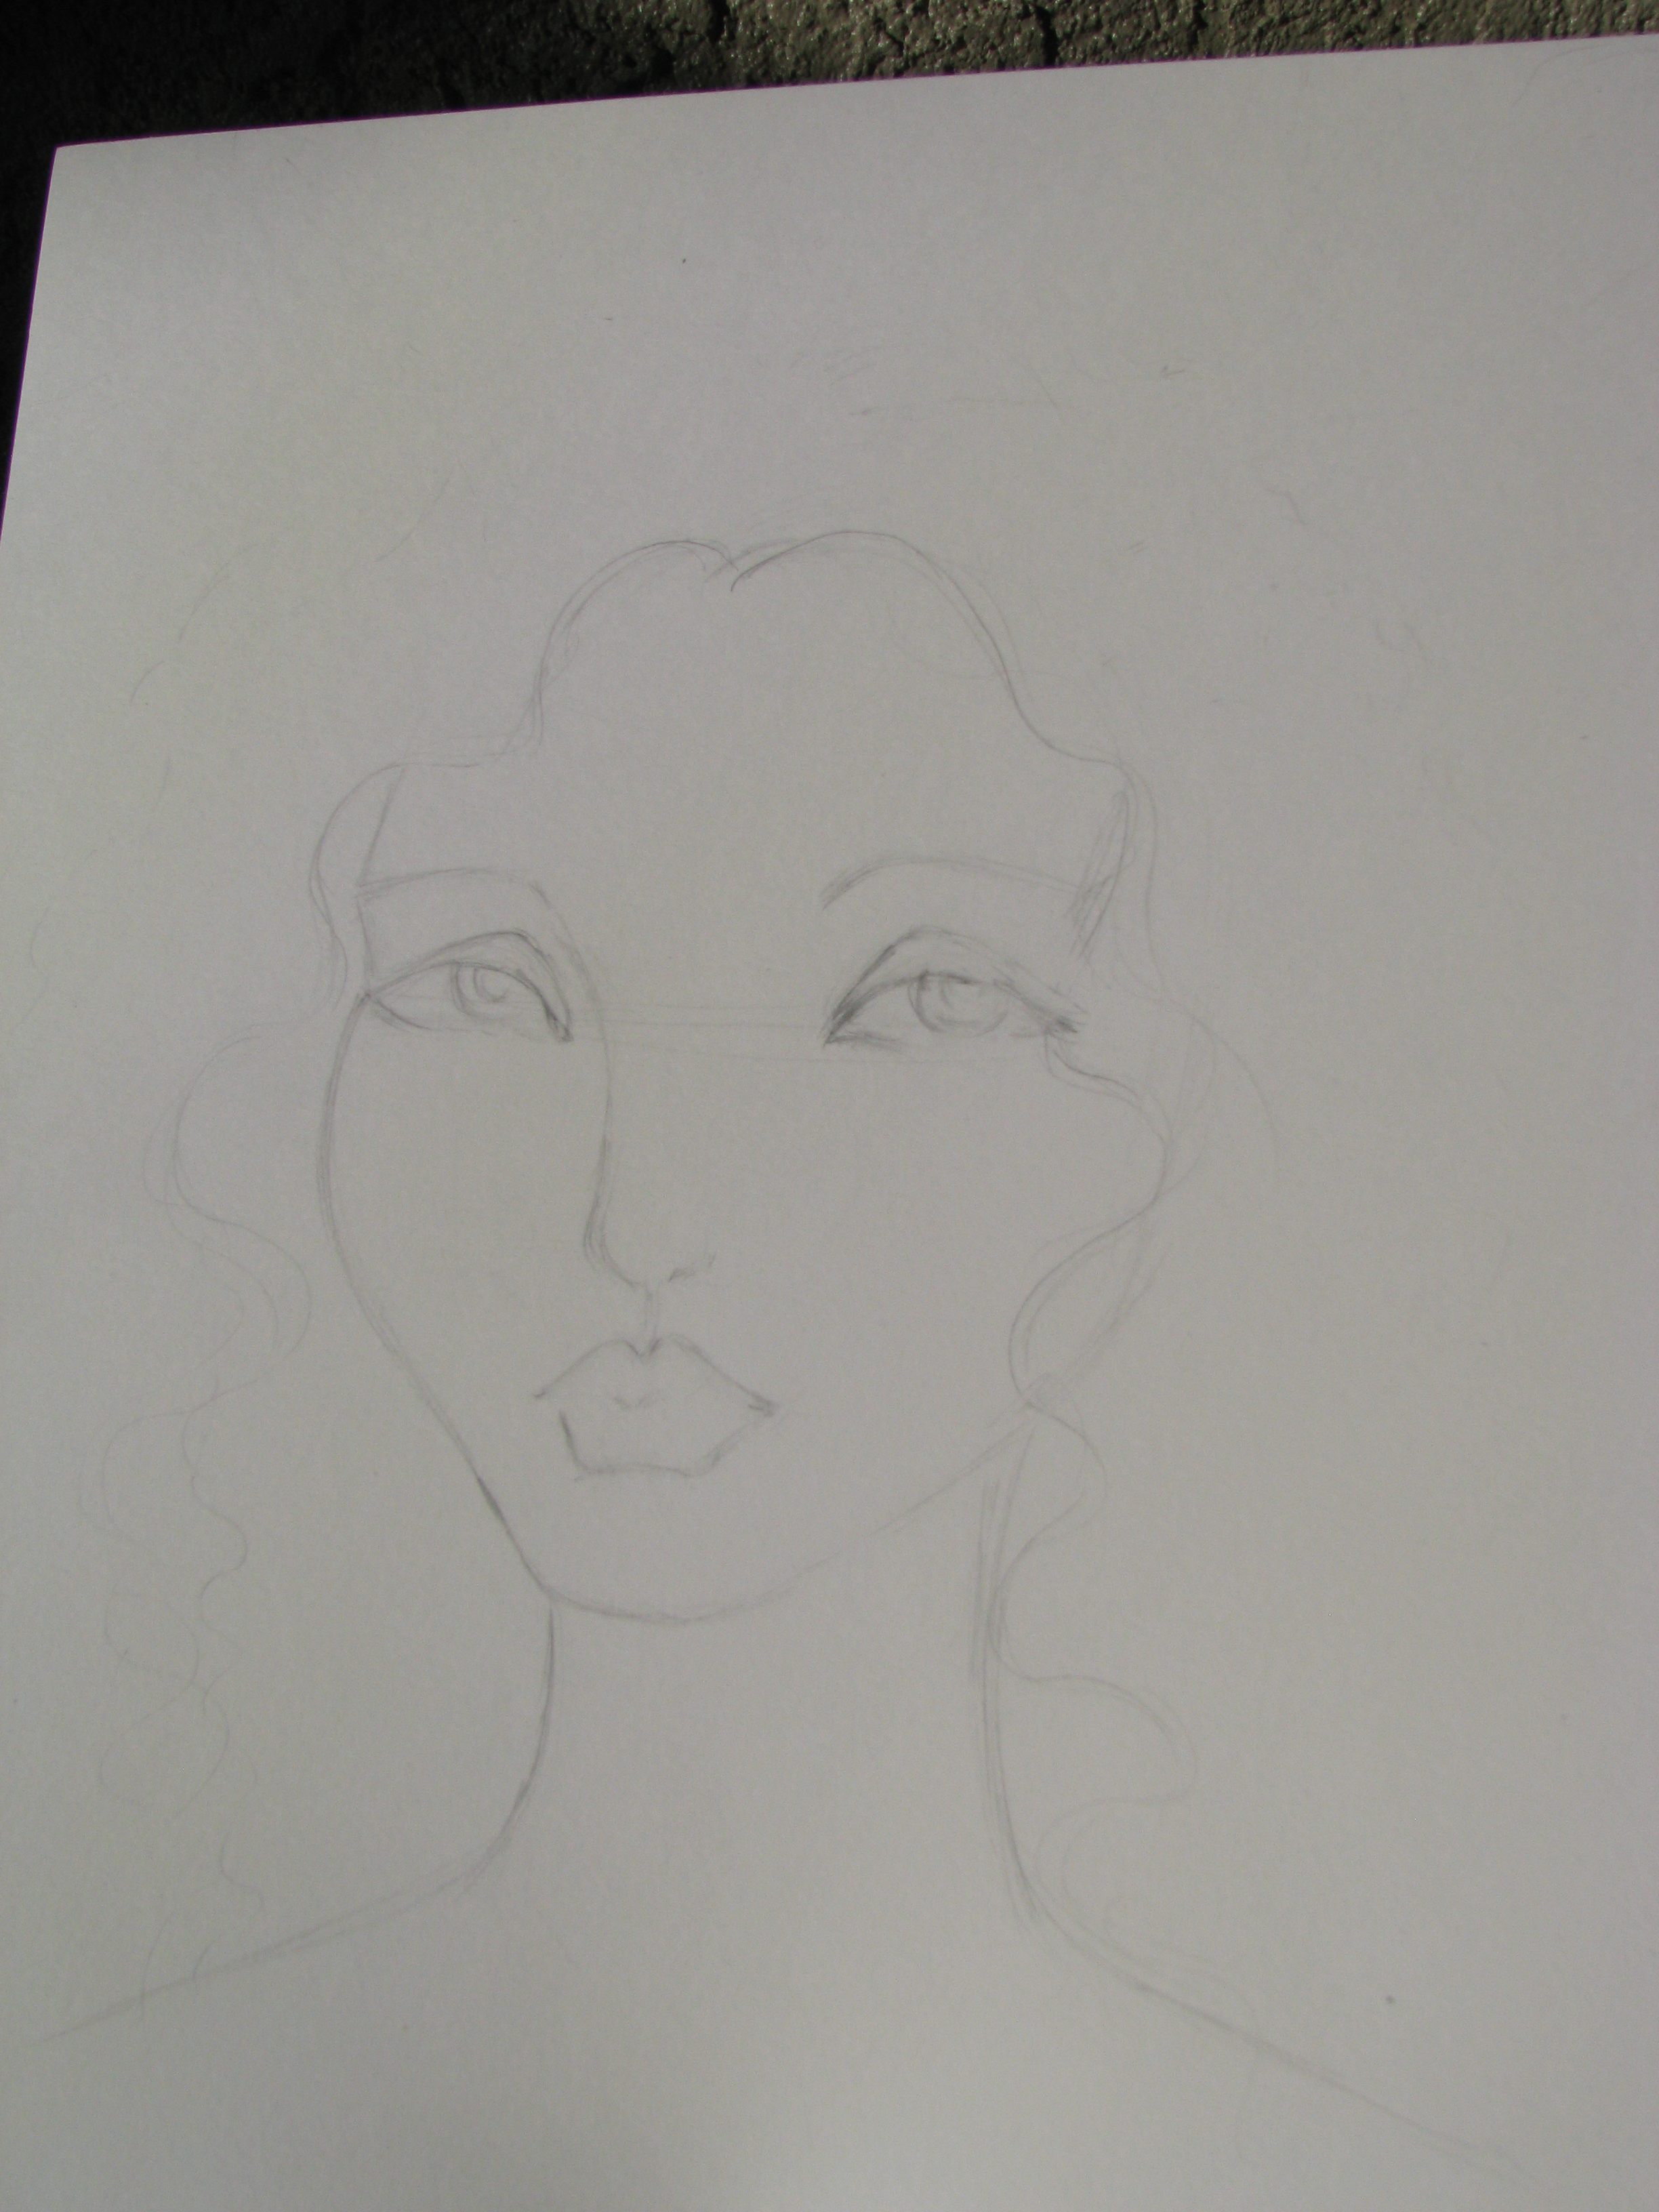
I started with a basic sketch of the face. I did not add much hair or the branches. I wanted the paint to do the work there.
Image
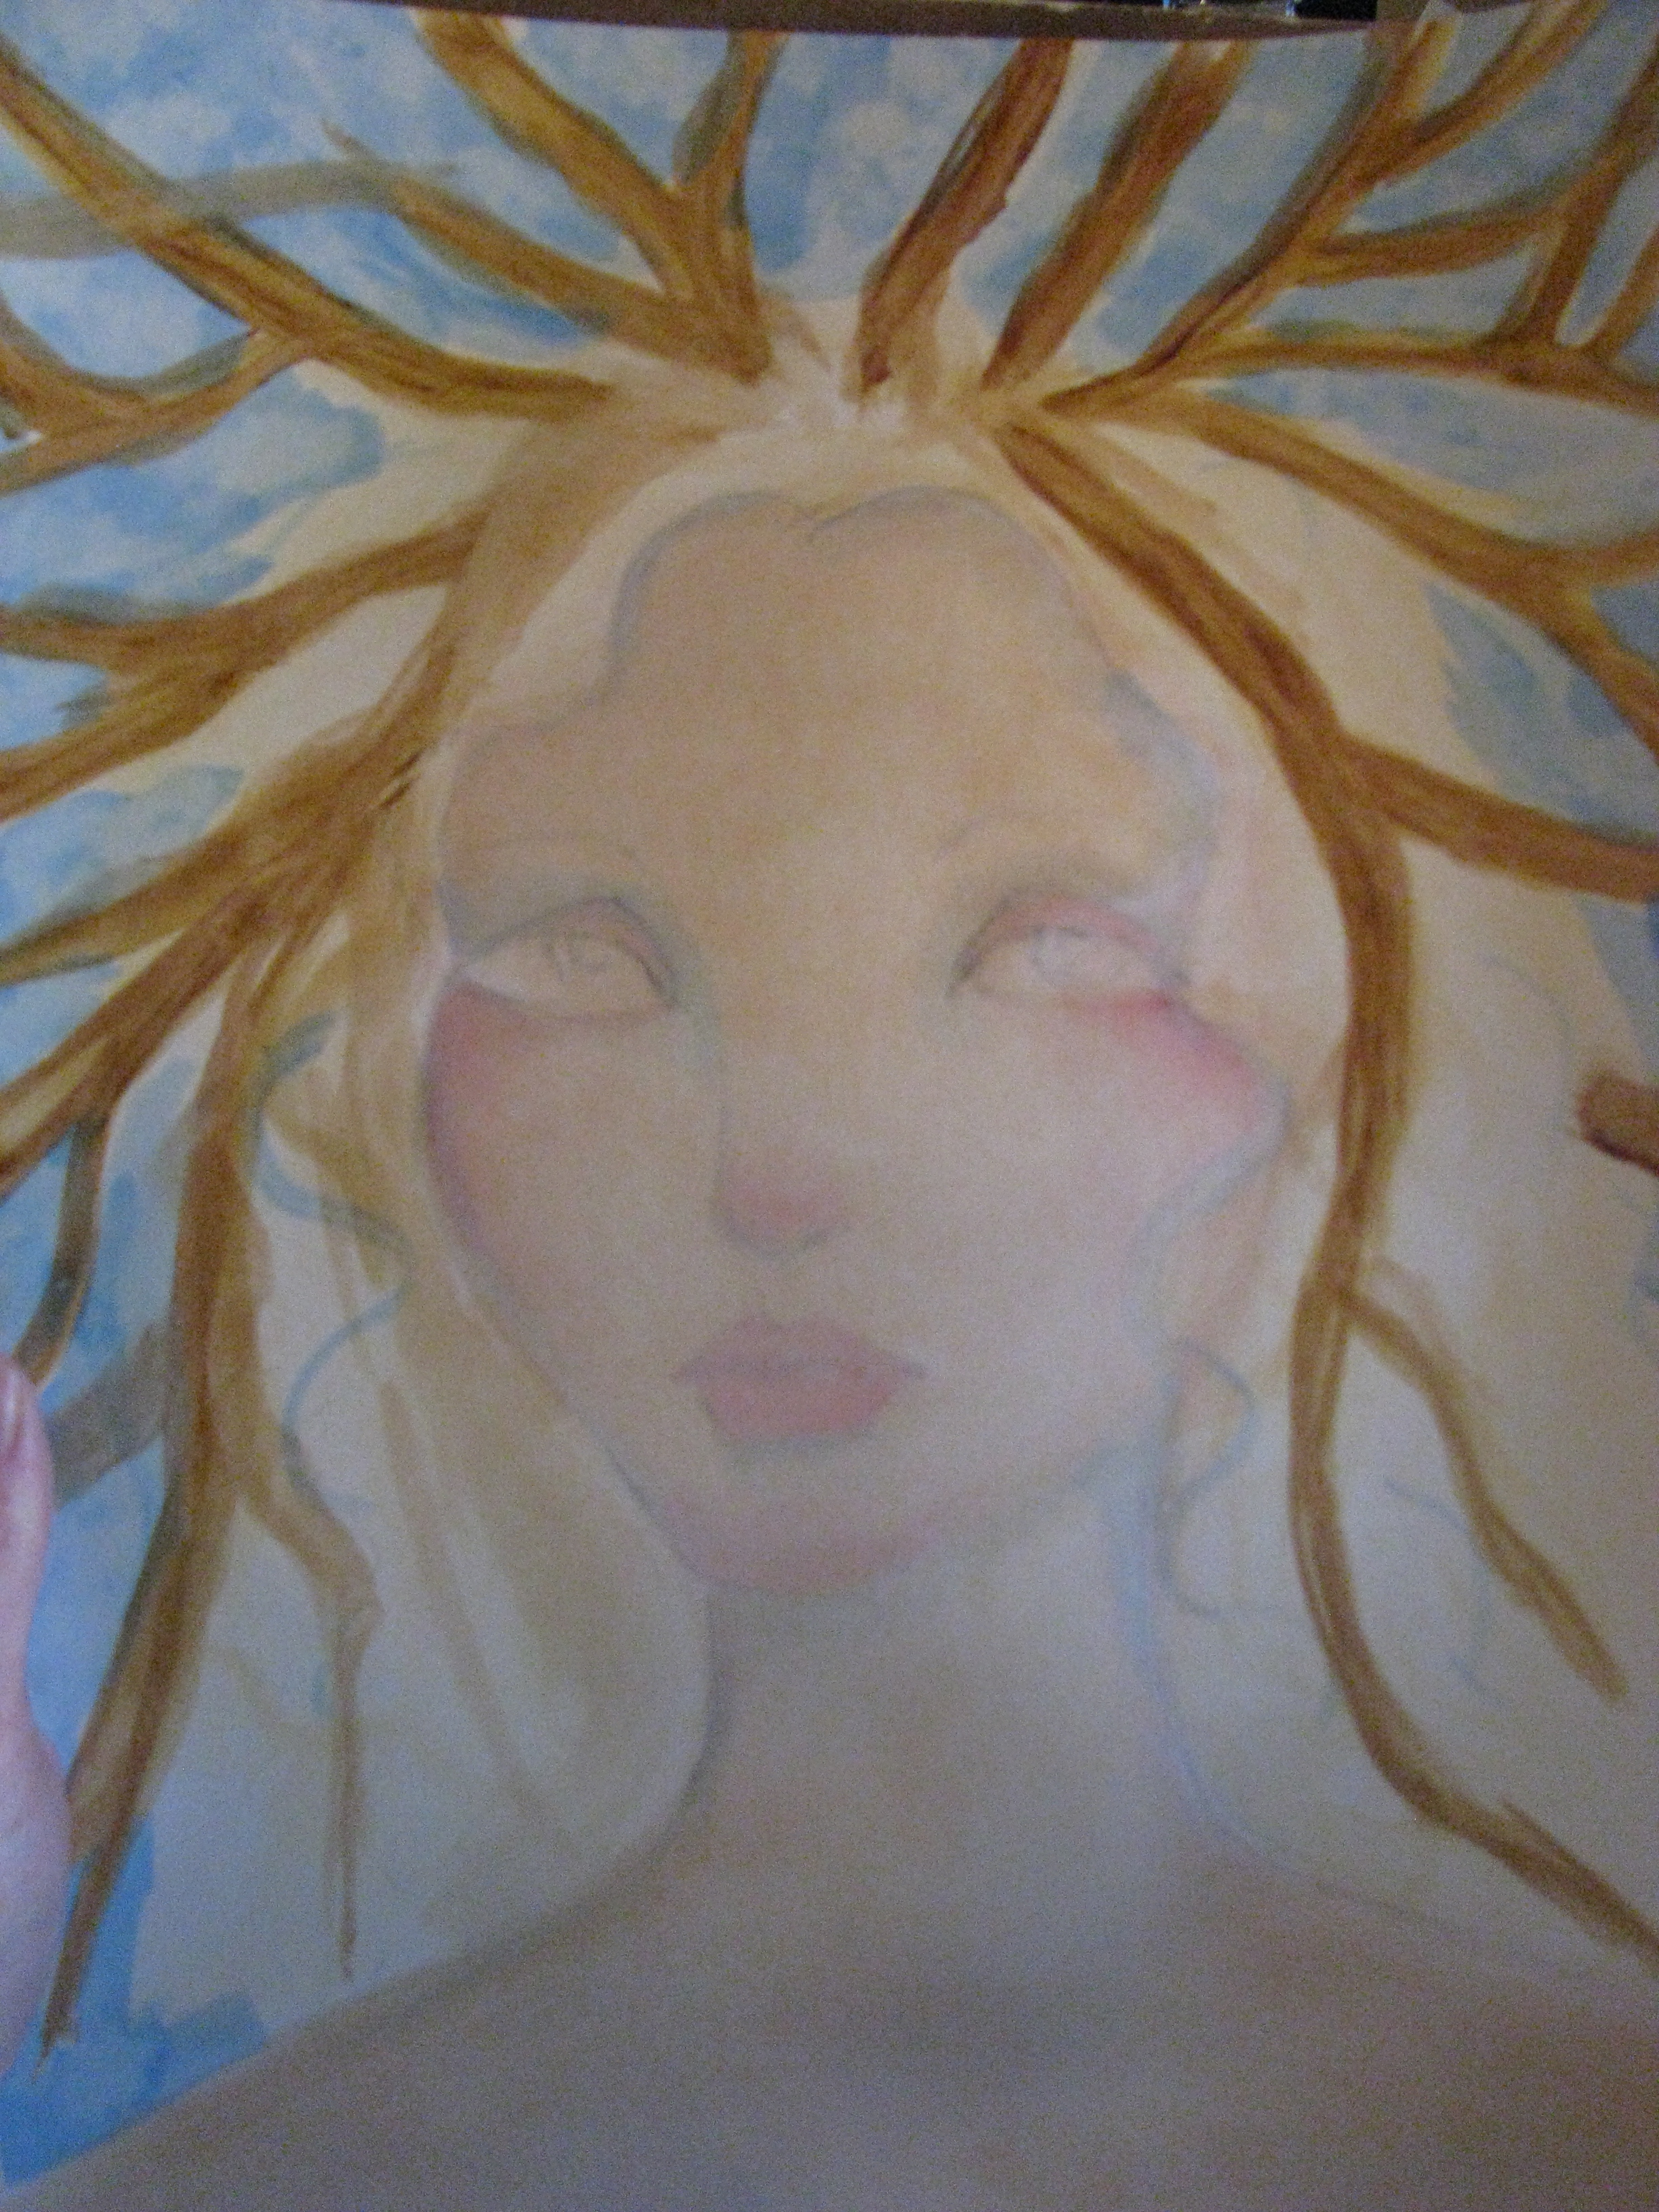
I then began to add light washes. I believe I used yellow ochre for the hair ans skin, and brown for the branches. I used a wash of rose madder on the nose, cheeks, lips and any parts of the face that would be ‘rosy’. I used a blue wash for the sky and the shadows on the face and neck.
Image
I continued to add color to the hair. I chose a reddish brown. I filled in the iris of the eye. I did not worry about painting around the pupil, since I was going to color it in with a dark color later. I noticed that the brown on the branches was washing away as I painted, (My first time using this paper) so I simply wiped it away with a damp cloth. I used a small brush and some brown ink to define them instead. It worked well. I also used a bigger brush and used the brown ink in the hair. I used colored pencils to add detail and wildness to the hair.
Image
I got out my brush tipped marker and filled in the pupil and lined the top eyelid and added more wild hair and loosely outlined some of the branches. I used the colored pencils to shade the details of the face and neck and added a couple of tattoos. I used pinks and browns. I then used white acrylic to make the shines in the eyes and.a reflection on the bottom lip.
Image
I finished up using more colored pencils just to darken the rosy bits and the shadows. I drew eyelashes to accentuate her eyes
Image
And here is the final product- scanned and available in my Etsy shop.  https://www.etsy.com/shop/FlutterblissArt
Feel free to leave comments or questions for me. :)
Image

Tuesday, November 26, 2013

How to get dried paint out of your paintbrushes tutorial

Today I would like to share how I clean and how I have saved some of my brushes. I have seen artists destroy paint bushes just by letting paint dry in the bristles. Some brushes are very inexpensive, but the cost can add up after a while. Some brushes are very expensive and it can be a tragedy when they get ruined by dry paint. What I usually do is clean them right after I use them, but on occasion they need to be deep cleaned or I have let the paint dry on them (shame on me!).
This is what you will need to start- murphy oil soap(available at most dollar, grocery, and big box stores), a clean jar, some cling wrap, and dirty paint brush
ImageImage
1. pour a small amount of the murphy oil soap into the jar.Image
2. Work the soap into the bristles gently against the bottom of the jar.
Image
Optional: sometimes if there is a lot of dried paint, the brush will need to be wrapped in cling wrap so it can soak and the soap won’t dry. It can be left to soak for 30 minutes up to overnight. a ziplock back can be used if wrap isn’t available
Image
3. Work the brush gently in the palm of your hand. You can use your fingers and nails to loosen stubborn paint.
Image
4. Rinse the brush really well with cool water. If the brush still has dried paint in it. repeat process.
After I get the paint out. I like to follow up with a little ivory bar soap. It is so cheap and does a great job cleaning, conditioning, and shaping brushes.
This method can be used with oil paint and acrylic paint. I have even gotten dried paint out of my clothes with the murphy oil soap. I hope this helps!